How to change profile image in ForceSeatPM
Introduction
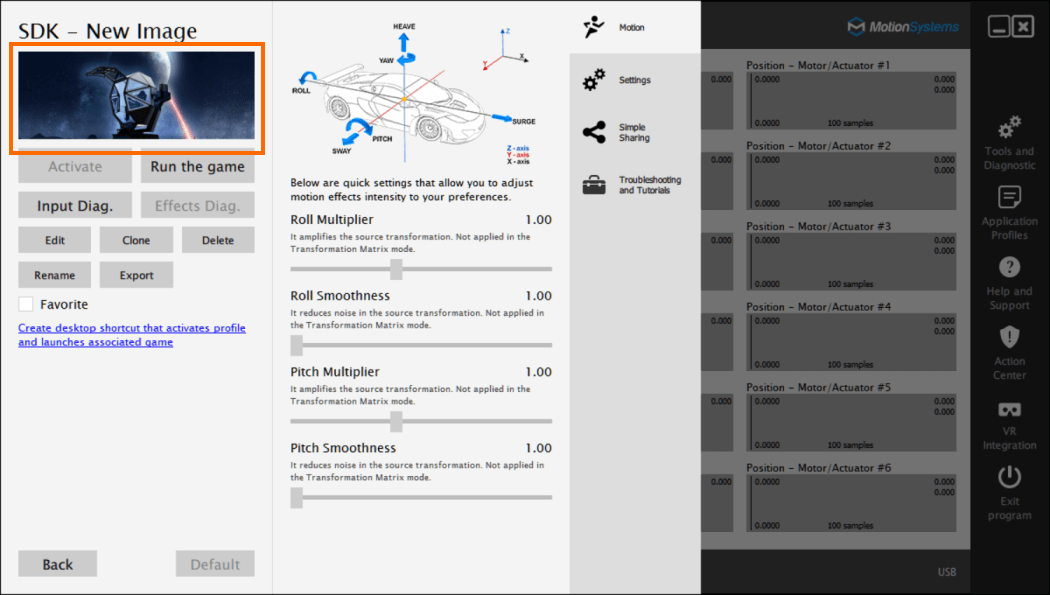
This short tutorial shows how to change image associated with custom profile. Before you begin, prepare new image.
It has to be a 270 x 100 24bit PNG file.
Steps
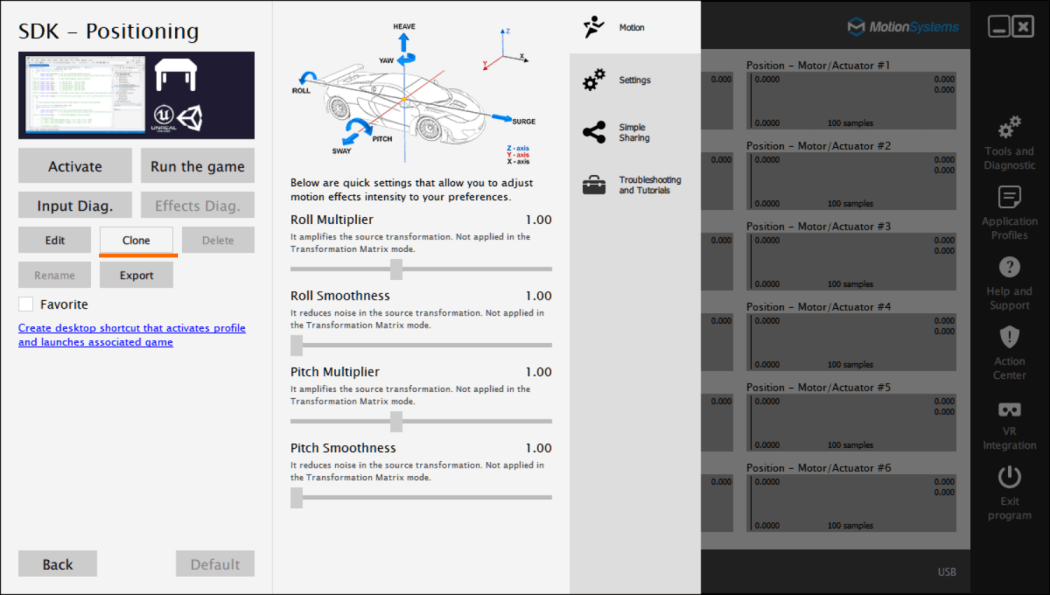
1. Go to SDK – Positioning profile details and click Clone.
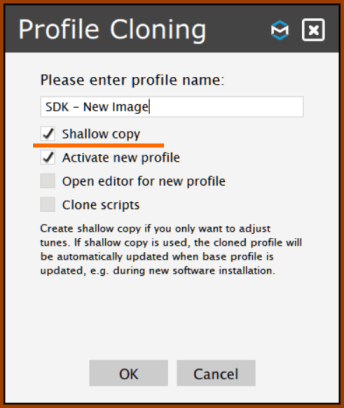
2. Enter new name. We suggest to keep Shallow copy enabled to avoid issues after software update.
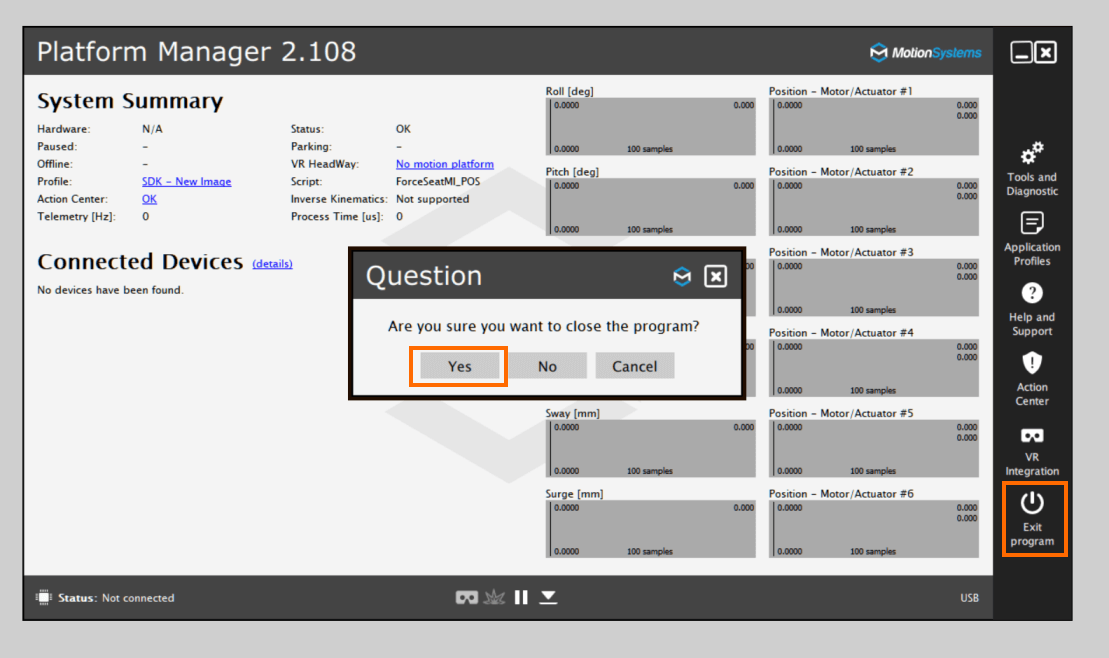
3. Close the application. By default the platform manager hides to tray, make sure to click Exit program, not the X in the upper right corner.
4. Go to Documents\MotionSystems\ForceSeatPM and open profiles.ini in notepad.
5. Find your profile there and add GameImage entry (if it does not exist). Make sure to use slashes (/) instead of backslashes (\) when you are specifying path to your image.
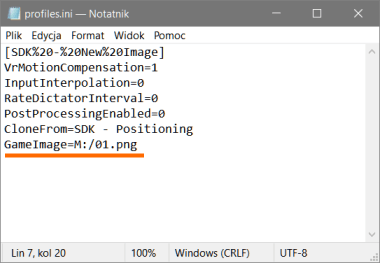
6. Save the profiles.ini file and start ForceSeatPM.